10 Common Mistakes to Avoid When Hanging Wall Art in a Rented Flat
Renting can make you cautious about the walls. You want the place to feel like yours, and you also want your deposit back when you leave. The good news is that the two are not in conflict. Most wall damage in rented flats comes from a handful of avoidable mistakes — the wrong fixing, a hole in the wrong place, a group of pictures spaced as though they are avoiding each other — and every one of them is easy to sidestep.
1. Choosing a Fixing Before You Know What the Wall Is Made Of
Walls lie. A painted surface tells you nothing about what sits behind it, and the inside of a Victorian terrace is a very different animal to a 1990s purpose-built block. Tap the wall first. A hollow, echoey sound usually means plasterboard or dry-lining; a dull thud suggests solid brick or blockwork under the plaster. Older lath-and-plaster walls sit somewhere in between and crumble at the edges of a nail, so they need a small pilot hole rather than brute force.
Before any drill goes near the wall, run a pipe and cable detector over the spot. Cables in UK homes typically run vertically above sockets and switches, and horizontally between them, so a picture hook placed directly above a plug socket is a genuine gamble. Keep fixings well clear of those channels, and stay away from radiators and boiler flues.
- Plasterboard: use a plasterboard plug or a hollow-wall fixing, and choose one rated above the weight of the frame.
- Solid walls: a masonry bit and a wall plug. Start with a small bit and widen if needed.
- Heavy mirrors and large frames: two hooks spread wide will always hold better than one central nail, and they keep the frame level.
If you are unsure what you are drilling into, or the property is old or listed, ask your landlord or letting agent first. It takes one email and saves an awkward conversation later.
2. Hanging as You Go Instead of Planning First
The single biggest cause of a wall full of abandoned holes is enthusiasm. You buy a print, you find a nail, you hang it. Three weeks later you move it 20cm to the left and the original hole is still there, winking at you from behind the frame.
Plan the whole arrangement before anything touches the wall. Cut paper templates for each piece, which takes ten minutes and costs nothing:
- Draw around each frame on plain paper and cut out the shape.
- Tape the templates to the wall with low-tack masking tape, in the position you think you want.
- Step back into the doorway and look. Then leave it for a day.
- On the template, mark where the hook or nail needs to sit — remember the picture wire sits lower than the top of the frame.
- Measure down from the top of the frame to the hanging point, translate that onto the wall, and check with a spirit level.
- Drill once, then remove the templates.
3. Getting the Height Wrong
Work out where the centre of the picture will land rather than where the top of it lands; the top edge is meaningless on its own. As a general rule, the centre of a piece sits at roughly eye level for an average adult, around 145cm from the floor. That figure is a widely used convention rather than a law, so adjust it to suit your own eyeline and the room.
Above furniture, the relationship matters more than the number. Leave a gap of roughly 15–25cm between the top of a sofa, sideboard or bedhead and the bottom of the frame, so the two read as one arrangement rather than two lonely objects. Hang too high and the art floats; hang too low and it looks as if it slid down overnight.
One more thing worth knowing: in a hallway or stairwell, you cannot apply the eye-level rule at every point, because your eyeline changes as you climb. Follow the line of the stairs instead.
4. Spreading Small Pieces Too Thinly
A small print alone on a large wall shrinks. Three small prints scattered at random across the same wall look like mistakes. Group them so the arrangement reads as a single shape, with consistent gaps of about 5–8cm between frames, and the whole composition will hold its own against the wall.
Three groupings that work particularly well in small rented rooms:
- The grid: four or six matching frames, equal gaps, identical alignment. Calm and unfussy, ideal above a desk.
- The shelf line: tops aligned, bottoms varying. Good for mixed frame sizes that share a subject.
- The salon cluster: a tight knot of mismatched pieces. Anchor it with the largest frame off-centre, then build outwards.
If your tenancy is short or you move often, a picture ledge is a smart compromise: two small fixings hold an entire rotation of prints, and you can change them whenever you like without touching the wall again.
5. Trusting Adhesive Strips With Everything
Removable adhesive strips are genuinely useful for lightweight, glazed-less prints on smooth painted walls. They are also regularly asked to do jobs they cannot do. They struggle on textured wallpaper, on matt or freshly painted surfaces, and anywhere warm or slightly damp, such as above a radiator or in a bathroom. The stated weight limit applies to a clean, smooth, flat surface — not to the bumpy wallpaper in a 1970s flat.
Press them firmly for the full recommended time, and remove them slowly, pulling straight down the wall rather than outwards. If the paint is already flaking, do not use them at all; they will take a patch of it with them.
6. Leaving Holes Unpatched Until Inspection Day
Small picture hooks are usually considered fair wear and tear, but a wall of unfilled craters is not, and it is the sort of thing that turns a deposit return into a negotiation. Fill holes properly: a fine-surface filler, applied slightly proud of the wall, sanded flush once dry, then touched in with matching paint. Ask your landlord for the paint colour and finish when you move in, or note it from the tin if there is one in the cupboard. A tester pot costs very little and is much easier than trying to match a colour from memory.
Photograph the walls when you move in and again when you leave, and keep the images. If you do end up disagreeing about deductions, your deposit should be protected by a government-backed tenancy deposit scheme, and those schemes offer a free dispute resolution service. For anything more involved, or if a significant sum is at stake, it is worth taking proper advice from a tenants' service or a solicitor rather than guessing.
A Short Checklist Before You Drill
- Check your tenancy agreement for any clauses about wall fixings, and ask if anything is unclear.
- Tap the wall and scan for cables before choosing a fixing.
- Lay the whole arrangement out in paper templates and leave it overnight.
- Check the centre line of the composition, not just the top edge.
- Match the fixing to the weight of the frame — when in doubt, go stronger and spread the load.
- Keep a note of the paint colour, and fill every hole before you hand back the keys.
Rented walls do not have to stay bare. A little measuring, the right fixing and half an hour with paper templates will get you a room that feels properly finished — and a deposit that comes back intact.
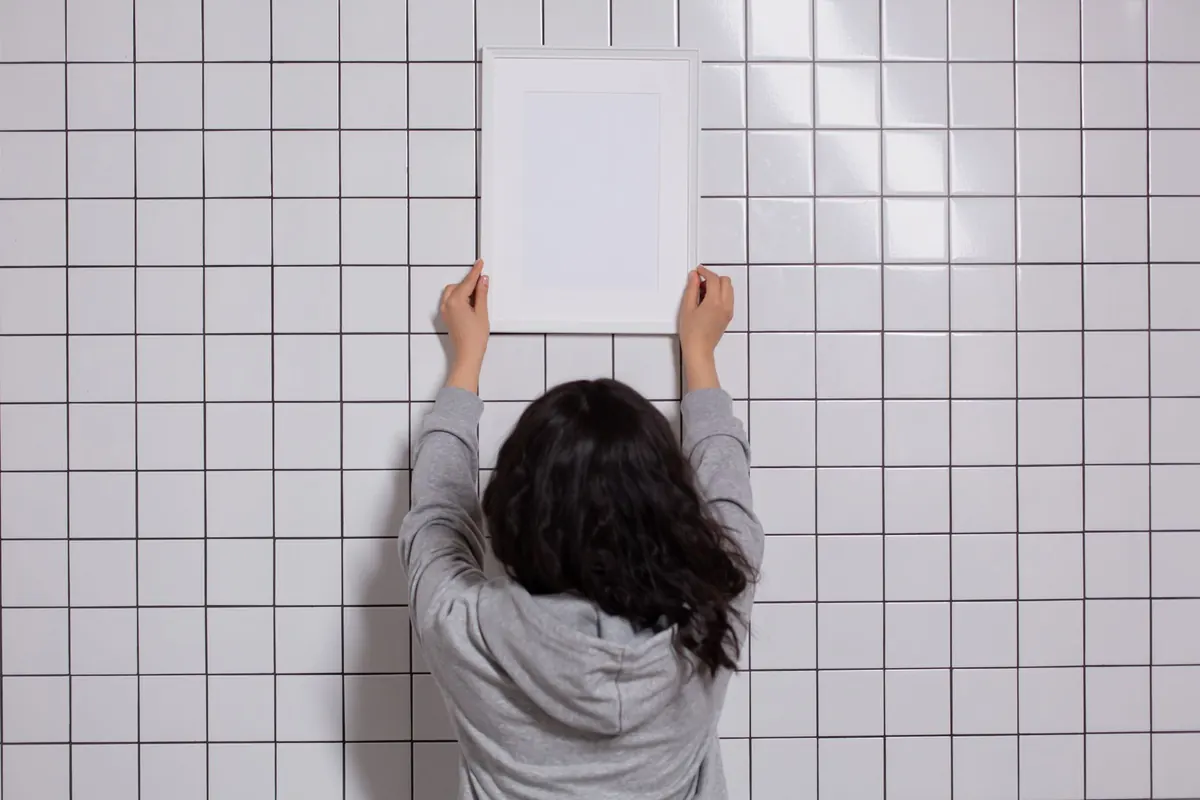
Photo: Monstera Production / Pexels

DIY Christmas Table Centrepiece Ideas Using Foraged Greenery
Gather ivy, holly, conifer and moss on a winter walk, then turn them into a low candle ring, a leafy...

A Checklist for Buying Second-Hand Furniture Online in the UK
What to measure, ask and inspect before buying pre-loved furniture online — plus the red flags that mean...
About Us